


Visual Composer vs. Beaver Builder vs. BeBuilder: Which Is Best?
June 19, 2024
How to add a responsive Google Maps widget to your site
June 19, 2024Ever feel like your WordPress site is a tangled mess of plugins, themes, and endless troubleshooting? You're not alone. A fresh start can do wonders, which is why today we're diving into how to uninstall WordPress and reinstall it safely.
It's not just about hitting "delete" and praying everything goes smoothly. There's a right way to do it—backing up your important data, cleaning up your MySQL database, and ensuring your site is secure throughout the process.
By the end of this guide, you'll master the essentials of a clean WordPress uninstall and reinstall, arming you with the know-how to tackle this task without a hitch. Whether it's manually deleting WordPress, managing themes and plugins, or navigating through your cPanel and FTP client, we've got you covered.
Prepare to dive in and give your website a fresh lease on life!
Why Would You Reinstall WordPress?
Before learning how to reinstall WordPress, you need to figure out why you should do it in the first place. It is crucial to understand what cases require uninstalling WordPress and what problems could be fixed through other methods. This will save you a lot of time and effort.
The most common reasons why people choose to uninstall WordPress are:
- You encounter errors very often and it keeps you from doing regular activities on your website, thus affecting the entire WordPress system.
- You installed a plugin that caused irreversible damage to your core WordPress software, and WordPress is no longer working as it should.
- Your website seems to be hacked, which requires urgent reinstallation.
- Your WordPress has a virus that cannot be cleaned by conventional methods.
- You simply want a clean install.
- Once you’ve decided what stands behind your decision, it’s time to learn how to uninstall WordPress.
Once you’ve decided what stands behind your decision, it’s time to learn how to uninstall WordPress.
How Can You Do It?
Step 1: Create a Backup
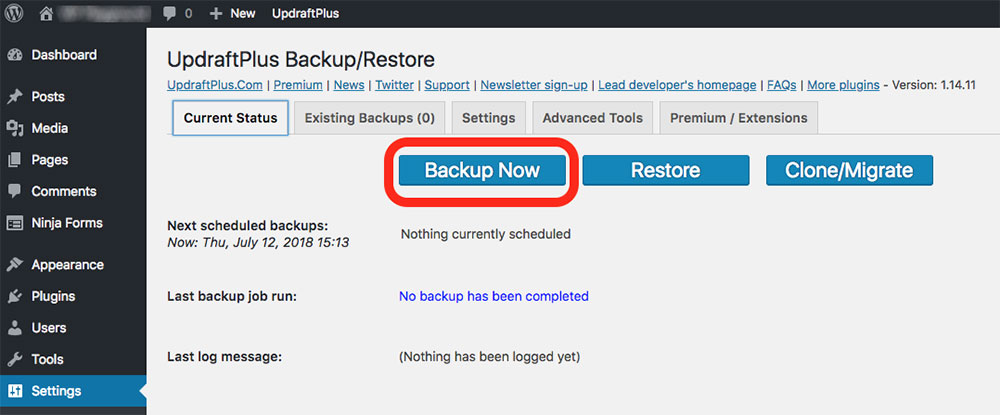
Before going further with making changes to your system, you should create a backup. This backup can keep you away from trouble in case something goes wrong with reinstalling WordPress.
You can use a WordPress plugin that lets you create a backup and import it to your new system once it’s installed. Don’t just rely on a plugin or backup program, though; always store your backup files in a secondary source, like Dropbox, Google Drive, or your computer.
Even though you won’t need this secondary backup for the actual WordPress reinstallation process, it’s best to have it near. Once you back up the site, you can move on to the next step.
Step 2: Export Your Content
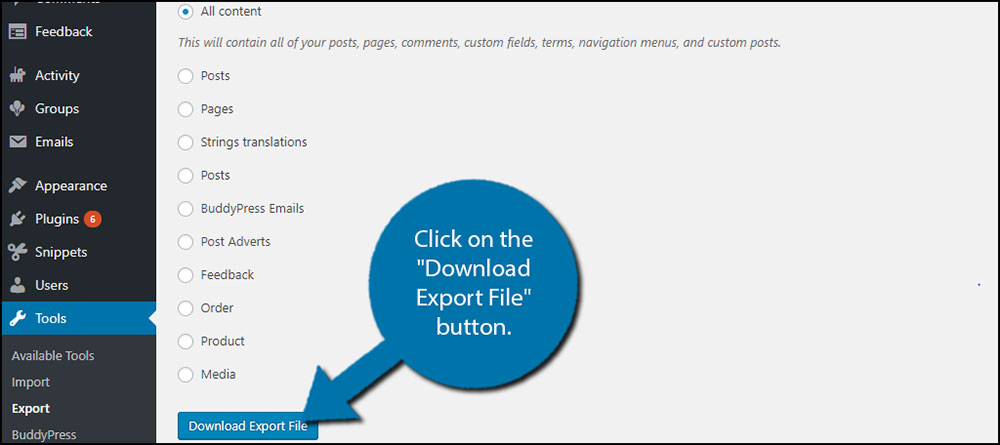
Your website content is probably the most important part of your site. Before starting to uninstall WordPress, create an export file from your Dashboard. This file will contain all the content included on your current site: posts, pages, tags, and even comments.
You will restore most of your original WordPress site using this file, so pay tremendous attention to it. In order to create an export file, follow these steps:
1. Go to your WordPress Dashboard
2. Navigate to Tools
3. In the Export section, select the content that you want to export and hit Download
Move the filetoa safe, accessible location.
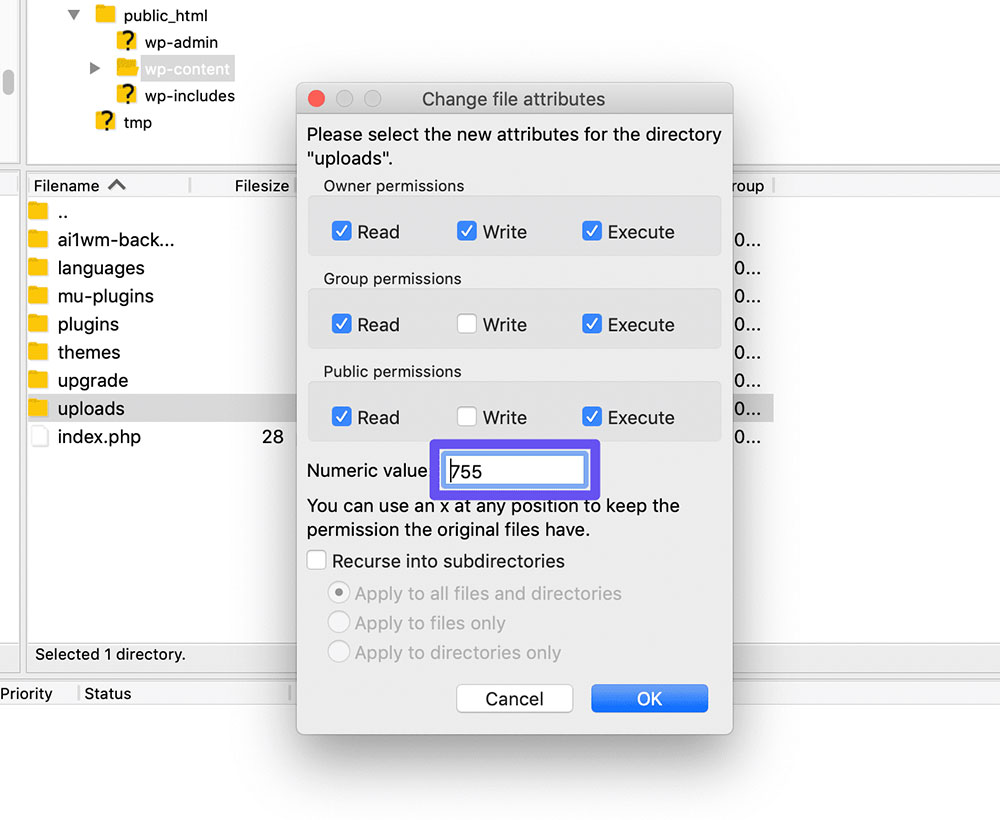
Step 3: Download Your wp-content Folder
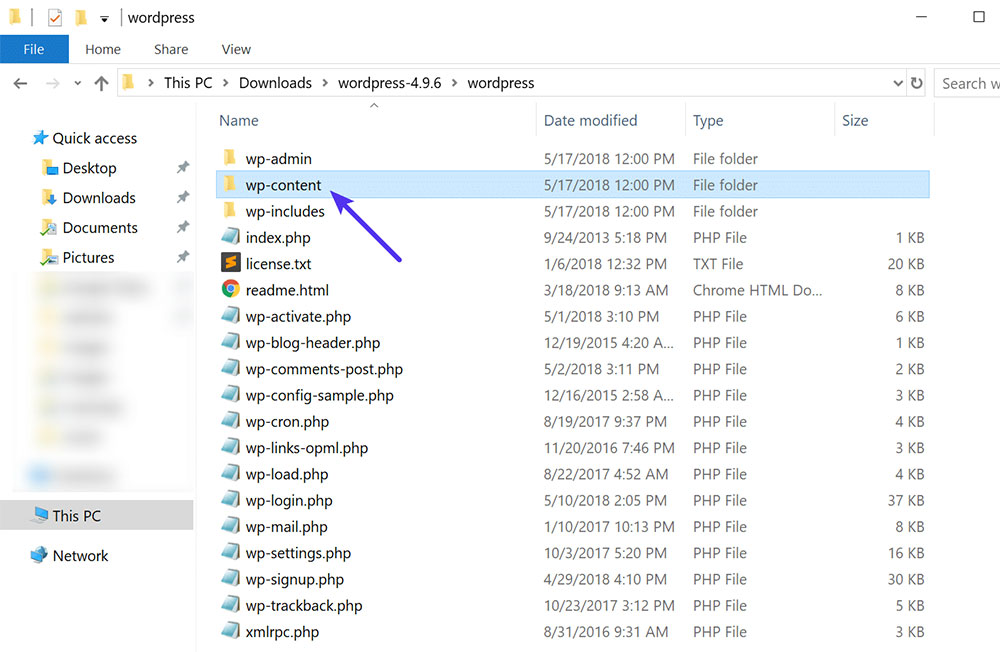
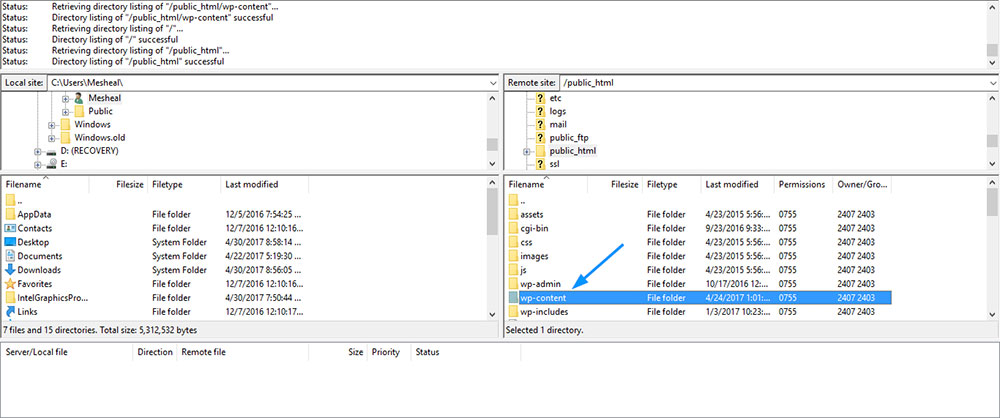
To uninstall WordPress, you will also need to download your existing wp-content folder. This folder contains your website’s plugins, media files, and themes. You are going to need all these files when you reinstall WordPress. This step is a little more complicated than the first.
You need to use an FTP client in order to access and download the wp-content folder. Any file manager like that found in cPanel should work well too. Either way, you need to reach this folder and hit download. Again, store it safely until it’s time to use it.
If there are other folders you added manually to your WordPress root folder for some reason, you might want to back up every file and folder in your WordPress root folder, just in case.
Step 4: Uninstall WordPress
Knowing that all your files are safe, you can uninstall WordPress completely.
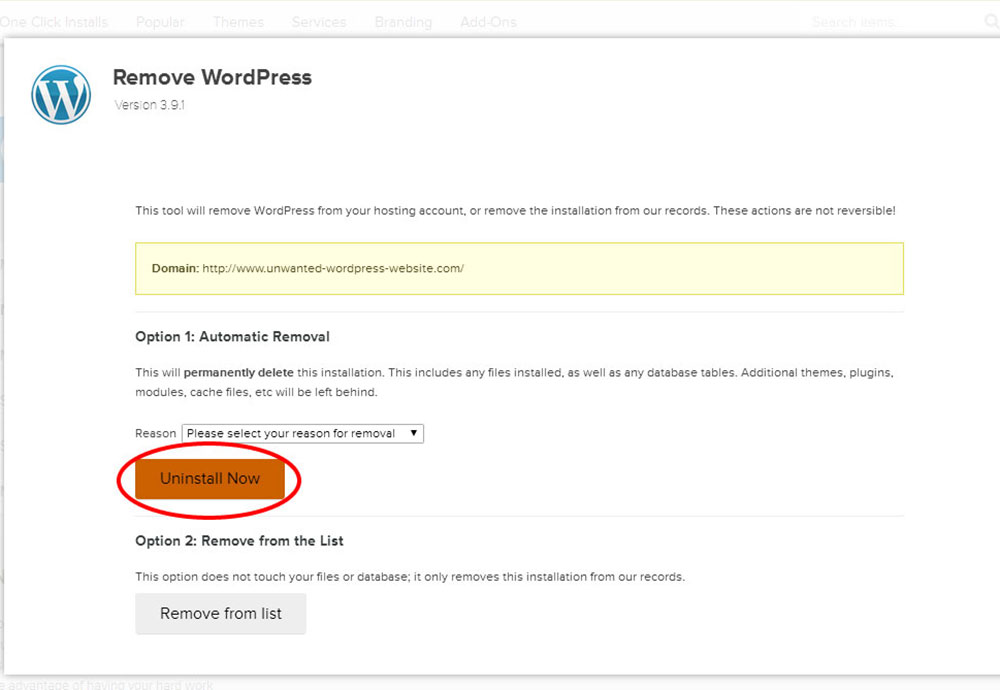
If you used a 1-click installer to install WordPress in the first place, you might be provided a 1-click option to uninstall WordPress somewhere on your hosting control panel.
If not, you will have to delete all the files in the WordPress root folder (usually public_html) as well as remove the MySQL database.
To remove the database, go to your hosting control panel account, log in, and navigate to MySQL Databases. Not all control panelsare the same and you will have to find your way around the platform provided by your web host. Find the option to remove it and confirm.
The next step is to create a fresh database for your new WordPress installation.
Once you reach the New Database page, scroll down to “MySQL Users” and create a new user. This user should be added to the database you’ve just created. To do so, click on the “Add user to database” option in the lower part of the page.
Step 5: Reinstall WordPress
Obviously, you need to download a fresh copy of WordPress from the official website. Unzip the archive in a location on your computer. The respective folder will be used for the WordPress reinstallation. If you encounter any issues accessing the official website, try using a VPN to bypass potential restrictions and download the files securely. Most private web browsers have built-in VPN features to enhance your online privacy and security while browsing.
Use an FTP client to upload the folder on your website. Navigate to your website and WordPress will ask you to provide some database information. This is the step where you have to be careful – provide the correct name of the database, the username and the password that you created during the previous step.
Check the information thoroughly and then proceed with the installation. If you did everything correctly, a confirmation message will pop up and you can hit “Run Install”. Then, you can just wait until the installation is complete.
Step 6: Restore Your Files
Once the installation process is finished, you need to restore your website’s wp-content folder. Use your FTP client to navigate to the wp-content folder of your new WordPress installation and re-upload the wp-content folder than you saved in Step 3.
Step 7: Import Your Content
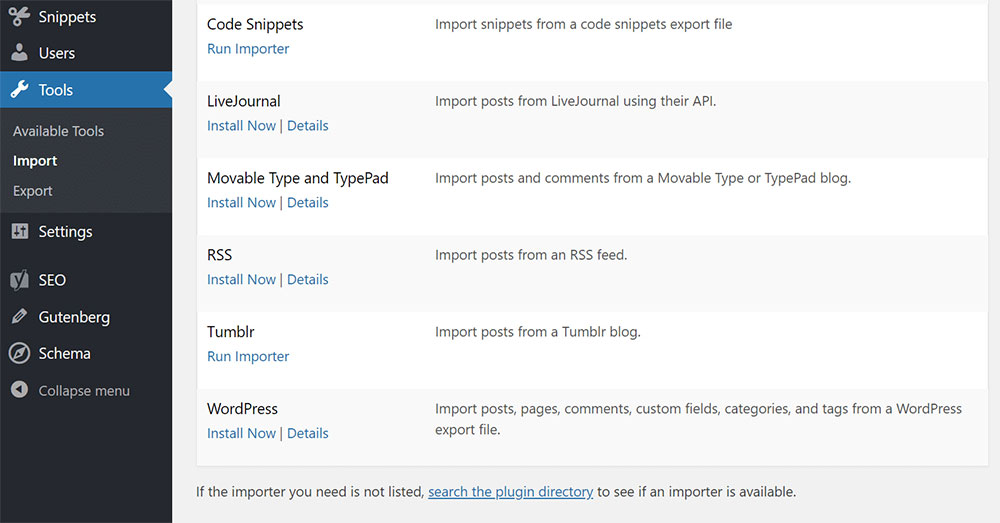
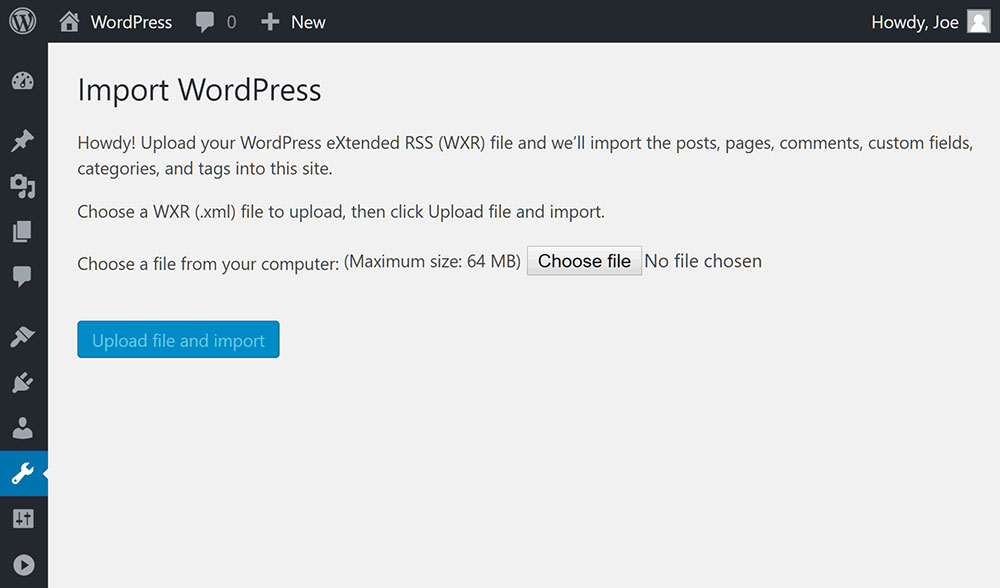
To import your posts and pages, navigate to Tools in your Dashboard and look for the Import ribbon. Under the WordPress section, click Install Now and select the files from the previous steps.
WordPress will deal with everything else using the in-built importing tool. Hit “Run Importer” and your website should begin importing the content. Wait until the files are completely uploaded on your site.
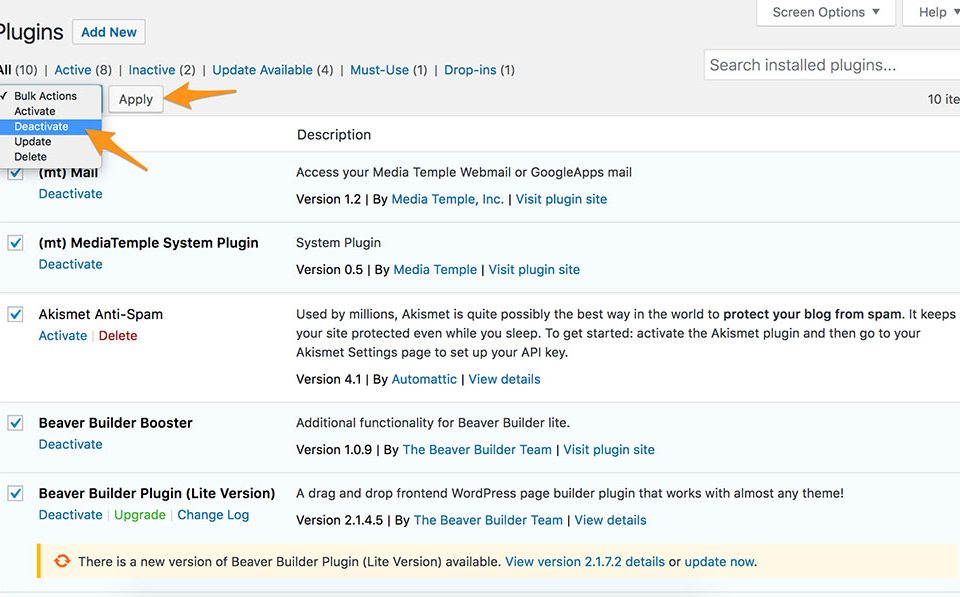
Step 8: Reactivate Your Plugins
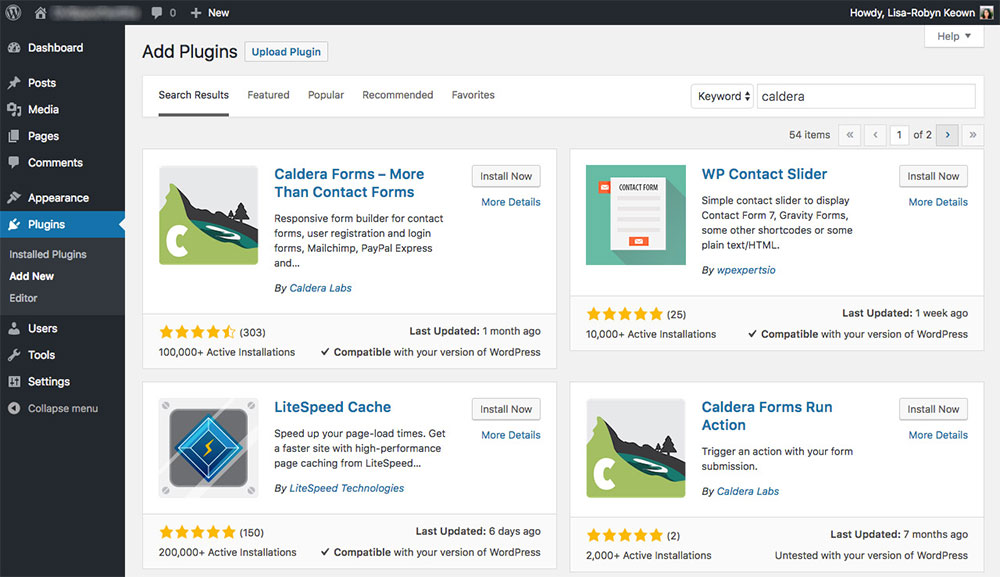
Finally, once your content is up and your settings are ready to go, you should direct your attention towards plugins. You will need to reactivate your plugins one by one.
After you uninstall WordPress, each plugin has to be activated individually. This is probably the most time-consuming task, but it is the safest way to make sure that your website will work properly.
How to Reinstall WordPress via FTP
If you want to reinstall WordPress without touching the database, you can use an FTP program to do so. The process is much easier in this situation: you need to download the latest version of WordPress, extract the files from the ZIP document, upload the content and you’re set.
Here’s how the basic process looks:
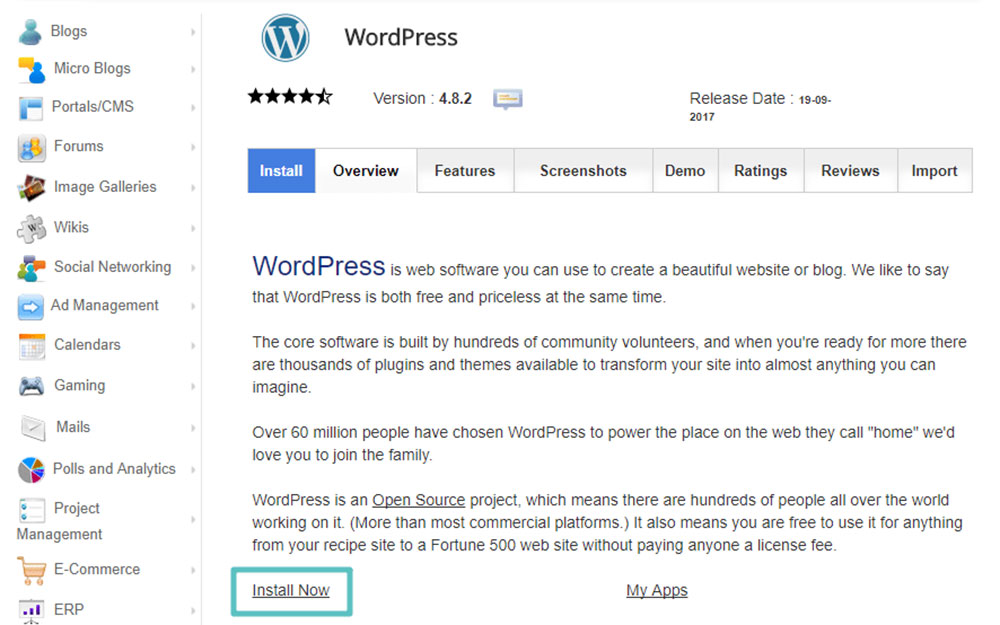
1. Head to WordPress.org, where you can download the version of WordPress that you want to install. The page should look like this:
2. Wait until the download is completed and proceed to unzip the file. Remember to delete the wp-content folder from this set of fresh WordPress files. It is crucial to delete this folder because otherwise it will overwrite your original wp-content folder, with all your existing plugins and other content.
3. Upload the remaining files to the original root WordPress folder. Overwrite the files that you want to replace. This is the final step and your website should be ready to use.
FAQs about uninstalling WordPress
How do I back up my WordPress site before uninstalling?
Backing up your WordPress site is crucial. Use plugins like Backups Plus or access phpMyAdmin to export your MySQL database. Ensure you download the wp-content directory via your FTP client. This step ensures you can restore your site if anything goes wrong.
What files need to be deleted to uninstall WordPress?
You need to delete the WordPress core files, including wp-admin, wp-includes, and all files in the root directory like wp-config.php. Don’t forget to remove any plugins and themes inside wp-content. Use cPanel or an FTP client like FileZilla for this process.
How do I clean up the WordPress database?
Log into phpMyAdmin via your cPanel. Select your database and drop all the tables related to WordPress. You can also use plugins dedicated to database cleanup if manual deletion sounds daunting. This ensures all previous data and configurations are completely erased.
How can I ensure that I have removed all WordPress files?
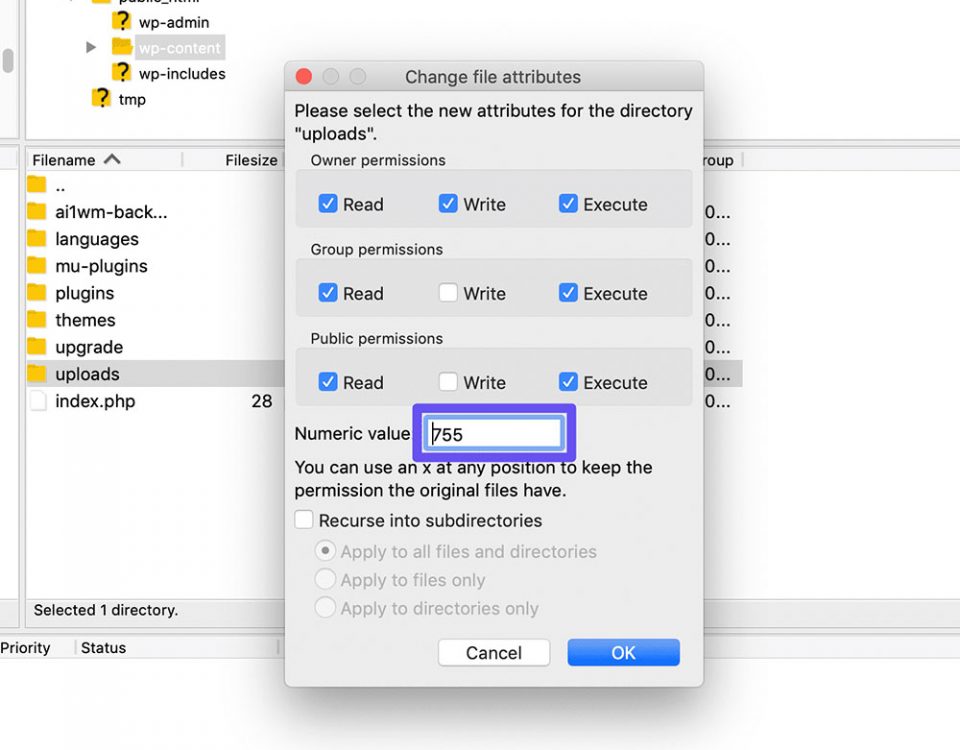
After deleting the WordPress files and cleaning the database, scan your hosting server using cPanel or an FTP client like FileZilla. Ensure that there are no remnants left behind, including hidden files like .htaccess. This step ensures a clean slate for reinstallation.
What steps are involved in reinstalling WordPress?
Download the latest WordPress package from WordPress.org. Upload the files to your server through cPanel or an FTP client. Create a new MySQL database and user, then run the installer by navigating to your domain. Configure the wp-config.php file during installation.
How do I restore my backup after reinstalling WordPress?
Use your backup plugin or phpMyAdmin. Import the backup of your MySQL database. Upload the wp-content folder via FTP, ensuring your themes, plugins, and uploads are restored. Activate your themes and plugins from the WordPress dashboard to finalize the process.
How can I safeguard my website during the reinstall?
Activate an SSL certificate and ensure your hosting provider has robust security measures. Use secure FTP (SFTP) to transfer files and keep your WordPress, plugins, and themes updated. Lock down your wp-admin directory using password protection via cPanel for an extra layer of security.
What should I do if reinstalling WordPress doesn't fix my issues?
Troubleshoot by checking server configurations and error logs in cPanel. Look into your Apache/Nginx settings or activate debug mode in wp-config.php. Consult WordPress Codex or support forums for more specific issues. Sometimes, server and hosting issues can affect WordPress performance.
How do I reinstall WordPress without losing my content?
First, export your content using WordPress's built-in export tool. Conduct a full backup. Uninstall and reinstall WordPress. After reinstalling, use the import tool to bring back your content. Additionally, ensure your uploads directory is backed up and restored via FTP.
What are the common mistakes to avoid during uninstallation and reinstallation?
Don’t skip backing up your site; it's crucial. Ensure you've cleaned the database thoroughly. Double-check wp-config.php for proper configurations. Avoid neglecting security protocols like using SFTP and updating your SSL certificate. Always verify file and directory permissions.
Conclusion
Navigating the intricate path of how to uninstall WordPress and reinstall it safely can be a daunting endeavor, but it’s essential for maintaining a clean, functional website. From backing up your MySQL database to meticulously cleaning your wp-content directory, each step is critical. Ensuring your cPanel and FTP client are functioning optimally aids in a seamless transition.
Taking security measures like activating an SSL certificate and employing SFTP further protects your site during the reinstall process. Having dealt with the wp-config.php file and verifying the deletion of all WordPress core files, you're now geared up for a fresh start.
What you learned here entails more than just hitting the delete button— it's a harmonized dance of preparation, execution, and restoration. Keep this guide close, tackle each step with precision, and your site will return stronger and safer. Future challenges? Bring them on. This knowledge has you covered.


