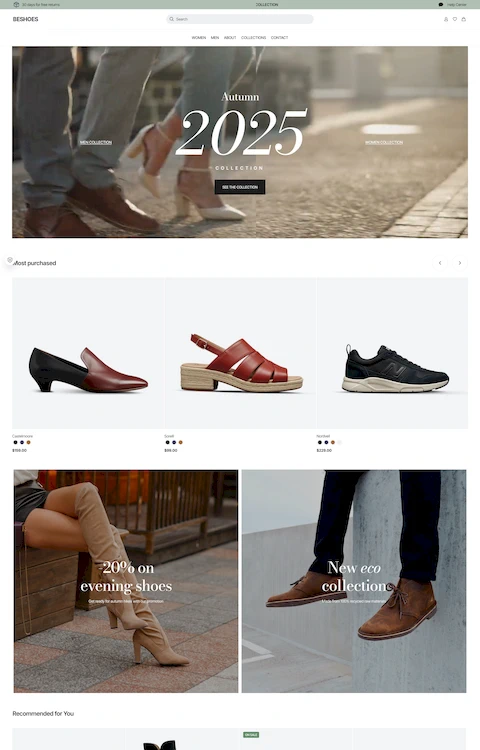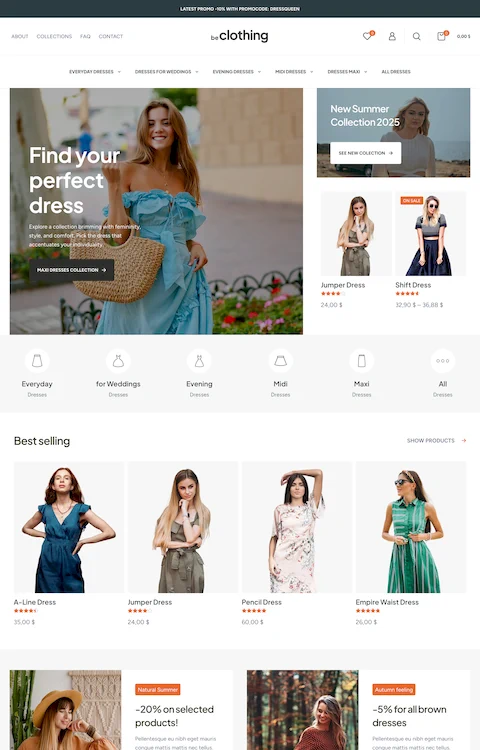


Top Ecommerce Landing Page Design Examples That Convert
April 23, 2026
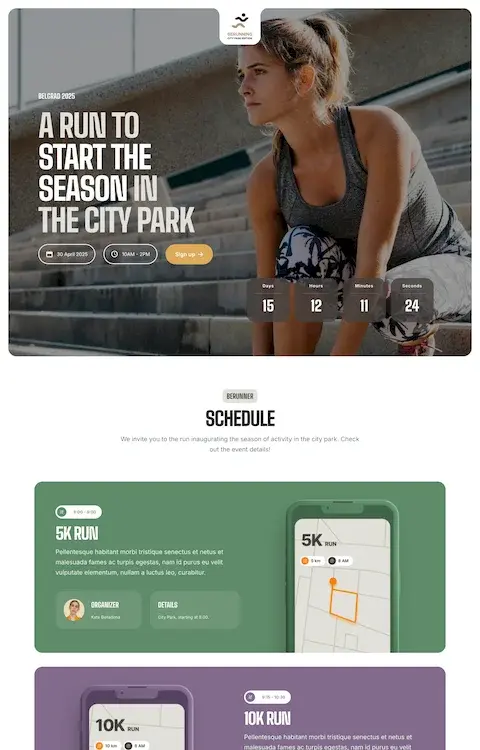
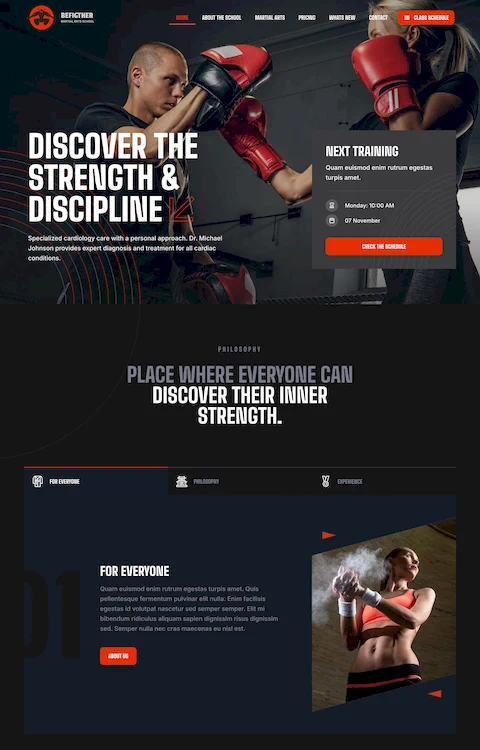
Stunning Fitness Website Templates for Your Brand
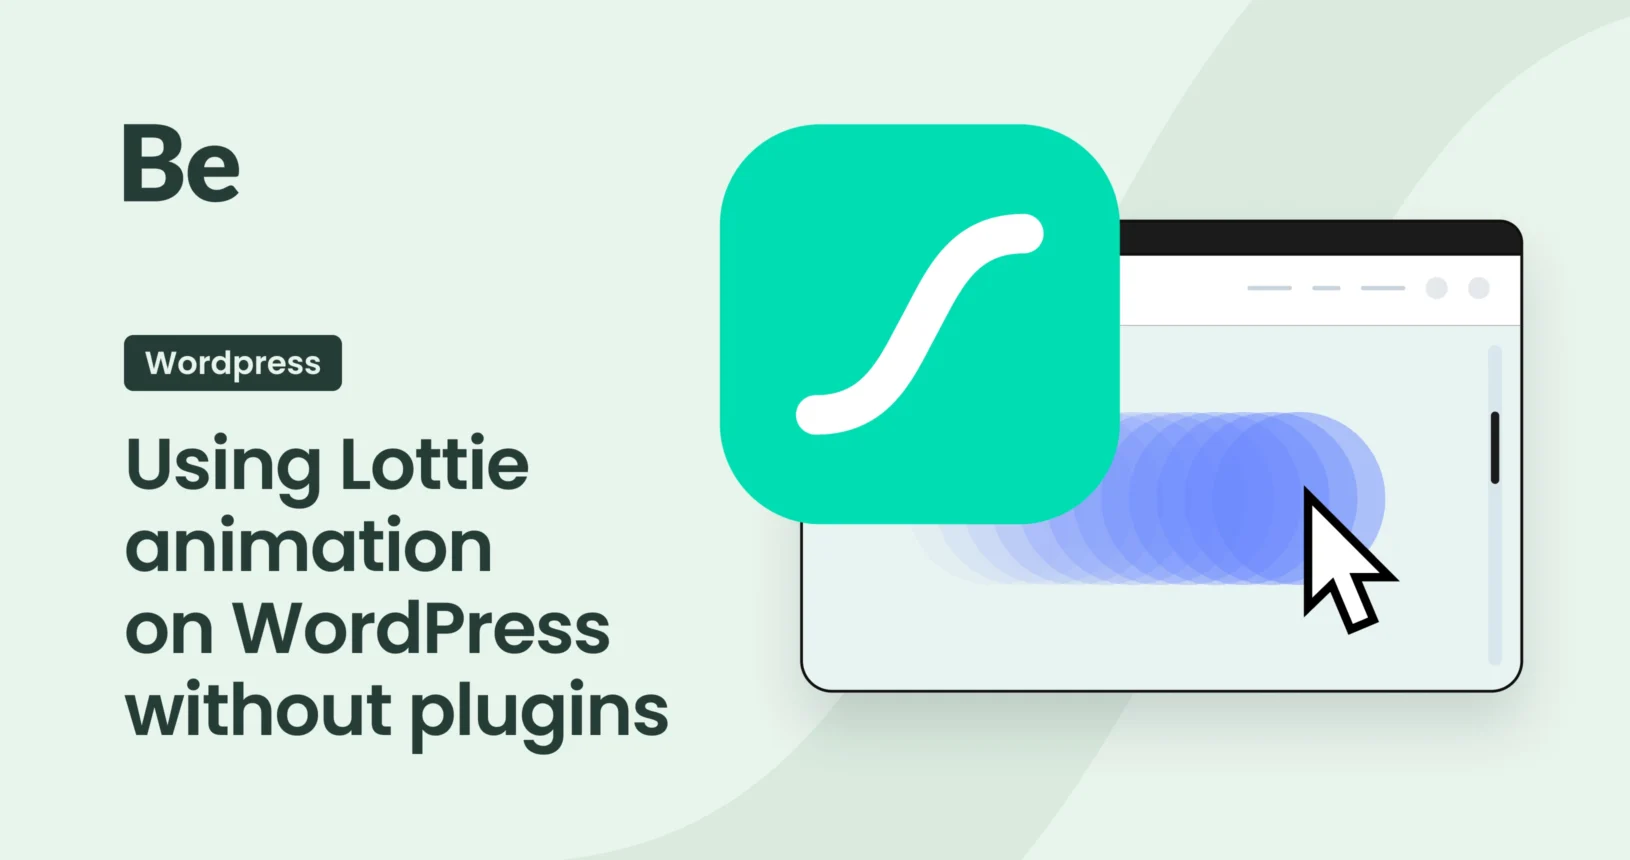
April 27, 2026Lottie animation is the “creme de la creme” of modern web design. They’re lightweight, scalable vector animations that look fancy on any screen without the massive file size of a GIF or MP4. They deliver superior quality but restrict you to vectors. Remember you can’t put raster in lottie.
BeTheme makes adding these incredibly easy because BeBuilder integrates the functionality directly. You’ll find a dedicated Lottie element right in the builder, so you don’t need extra plugins!
Step 1 – Get/Make Your Lottie Animation File
If you already have a .json file you can skip this step. If not, you can go to LottieFiles page or any other that provide such animated images and services to make one. You can make it with Adobe After Effects, Rive, LottieLab, Jitter if you’re familiar with graphic design and animations.
Download file to your computer or copy the Lottie Asset URL if your service provide such feature if you prefer not to host the file yourself.
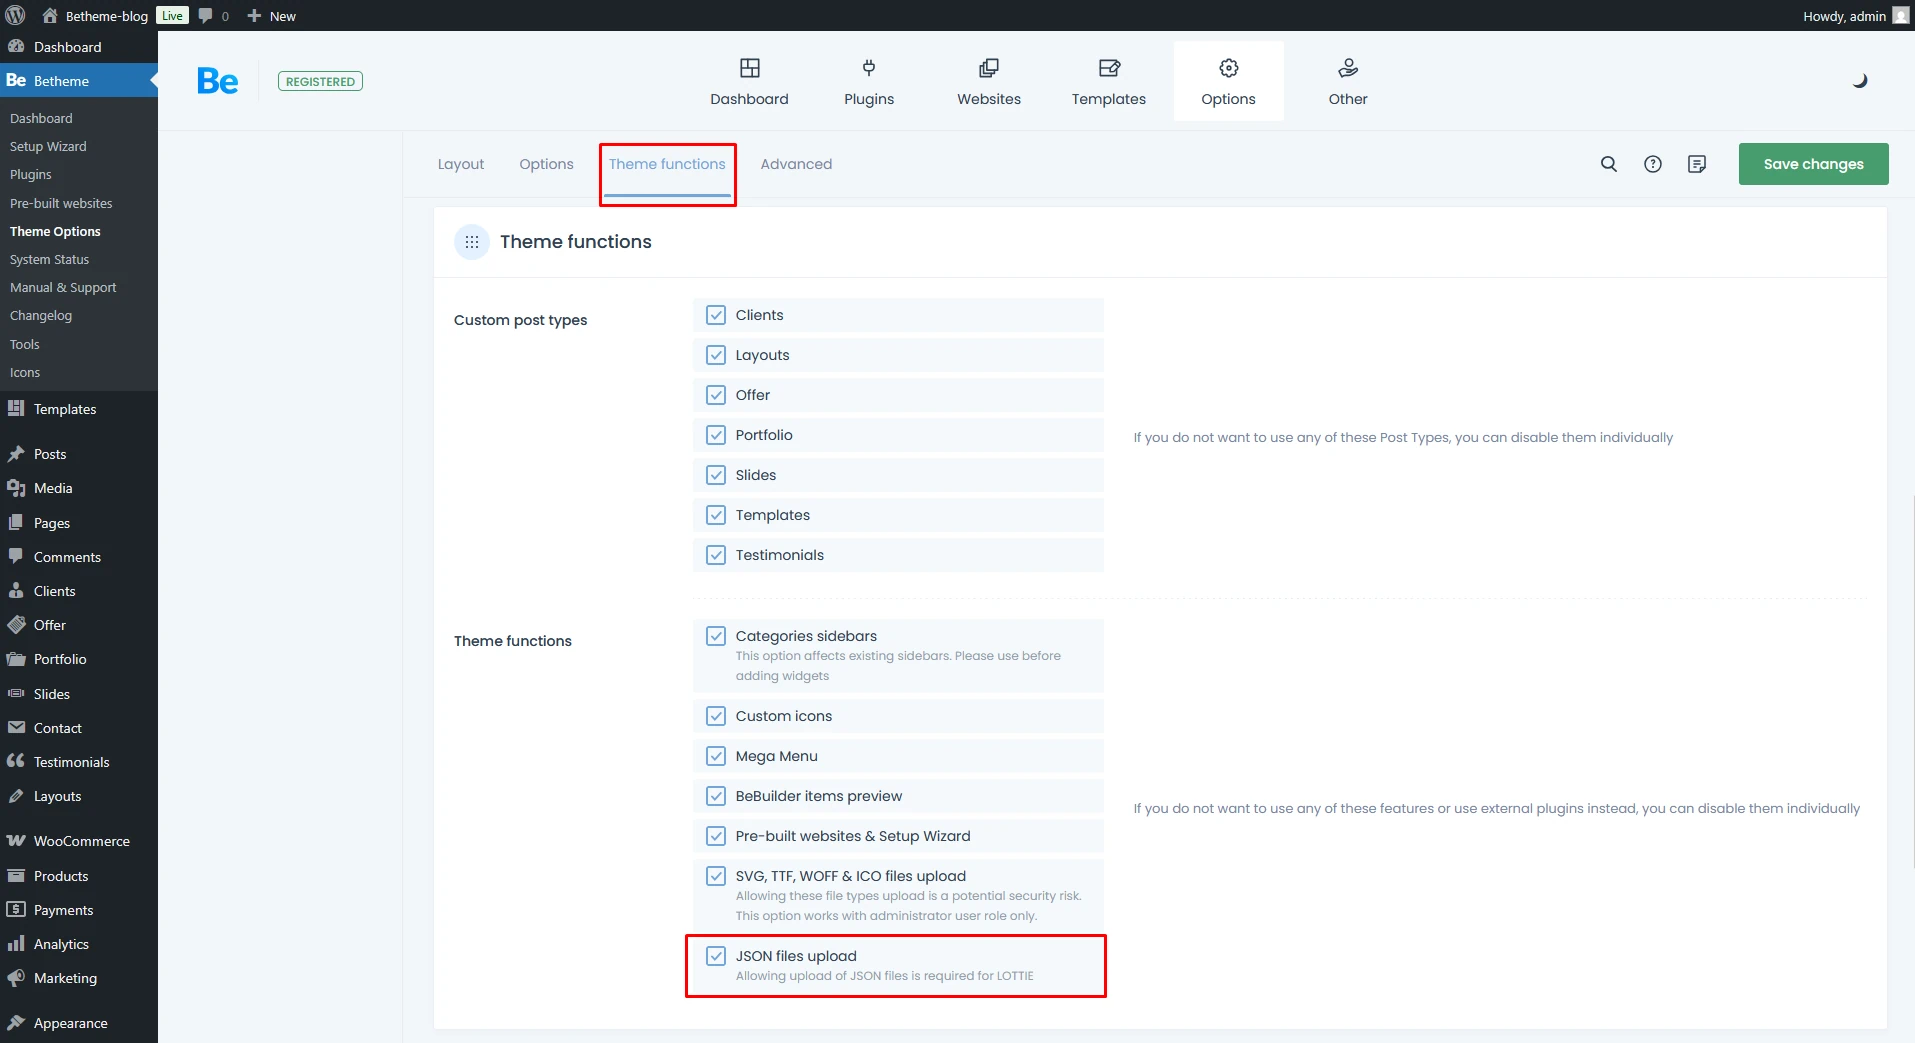
Step 2 – Enable JSON Uploads
By default, WordPress sometimes blocks .json file uploads for security reasons.
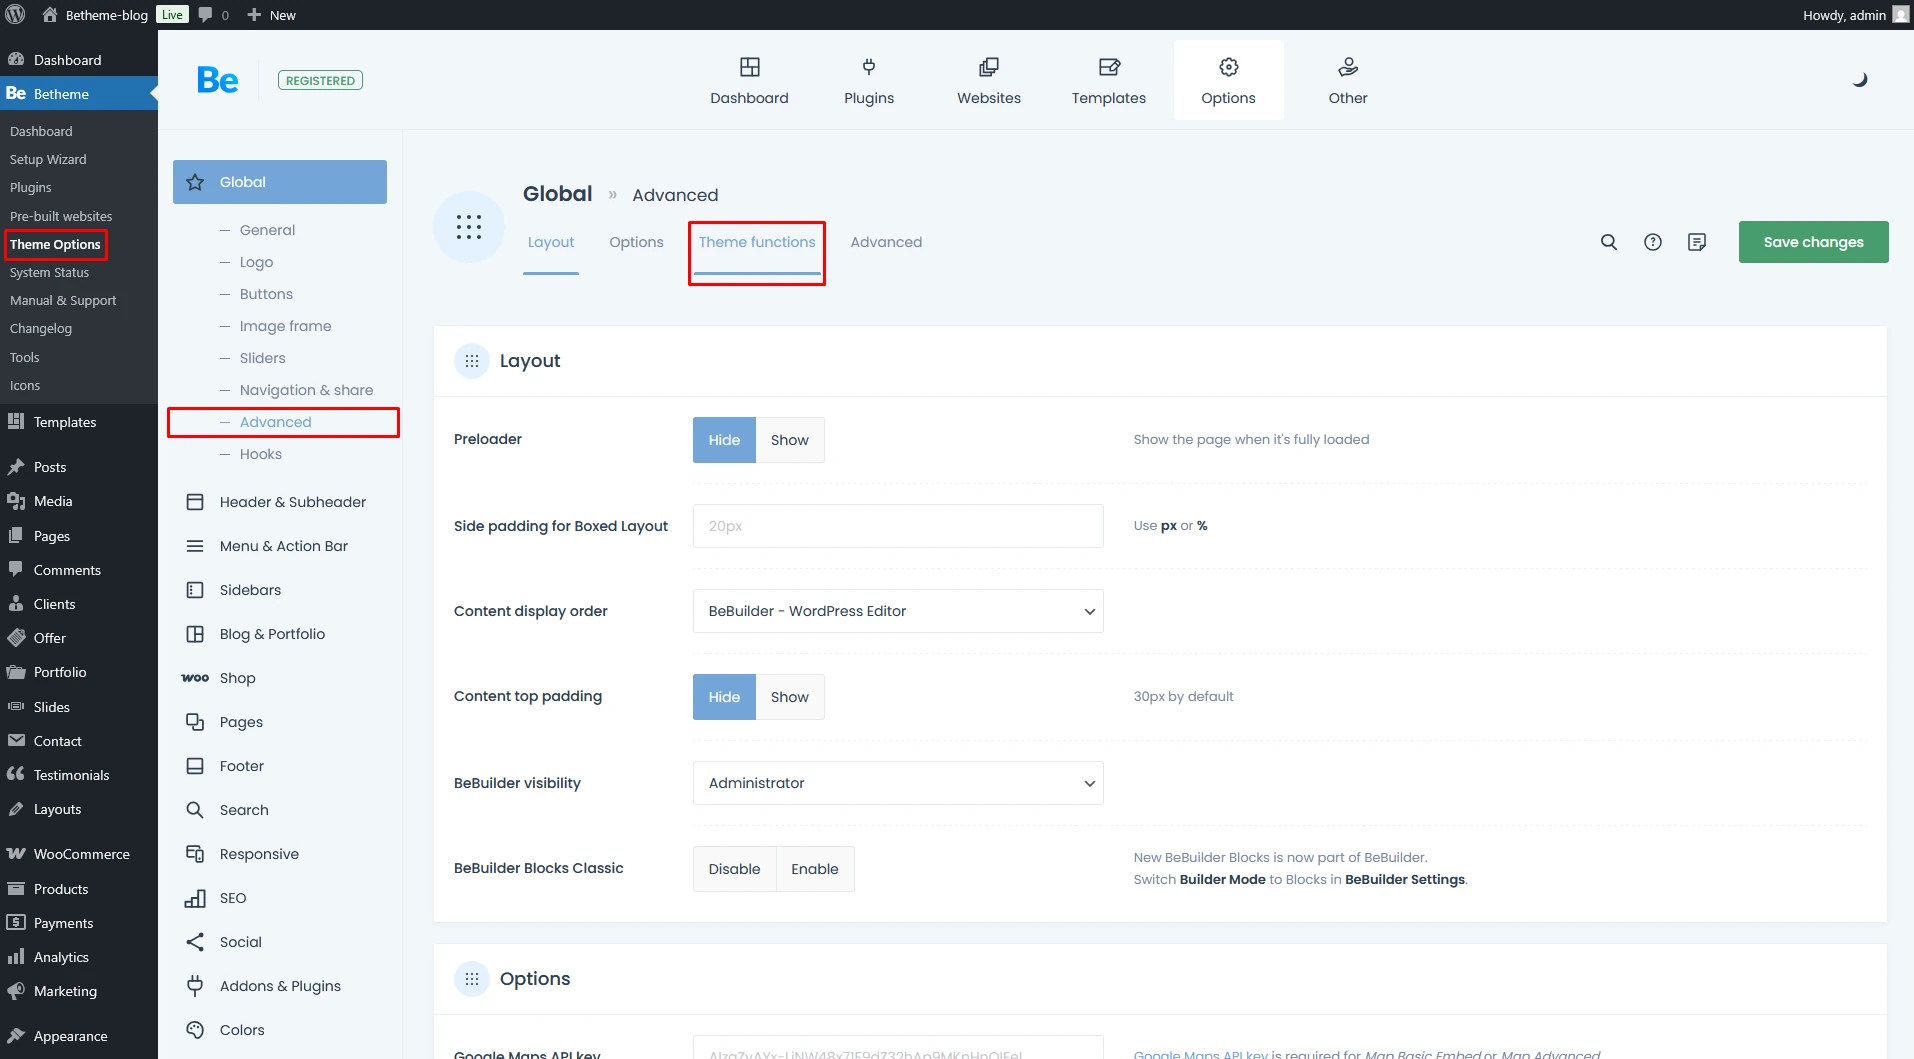
- In your WordPress dashboard, go to Betheme > Theme Options.
- Navigate to Global > Advanced > Theme Functions
- Ensure that you checked JSON file uploads
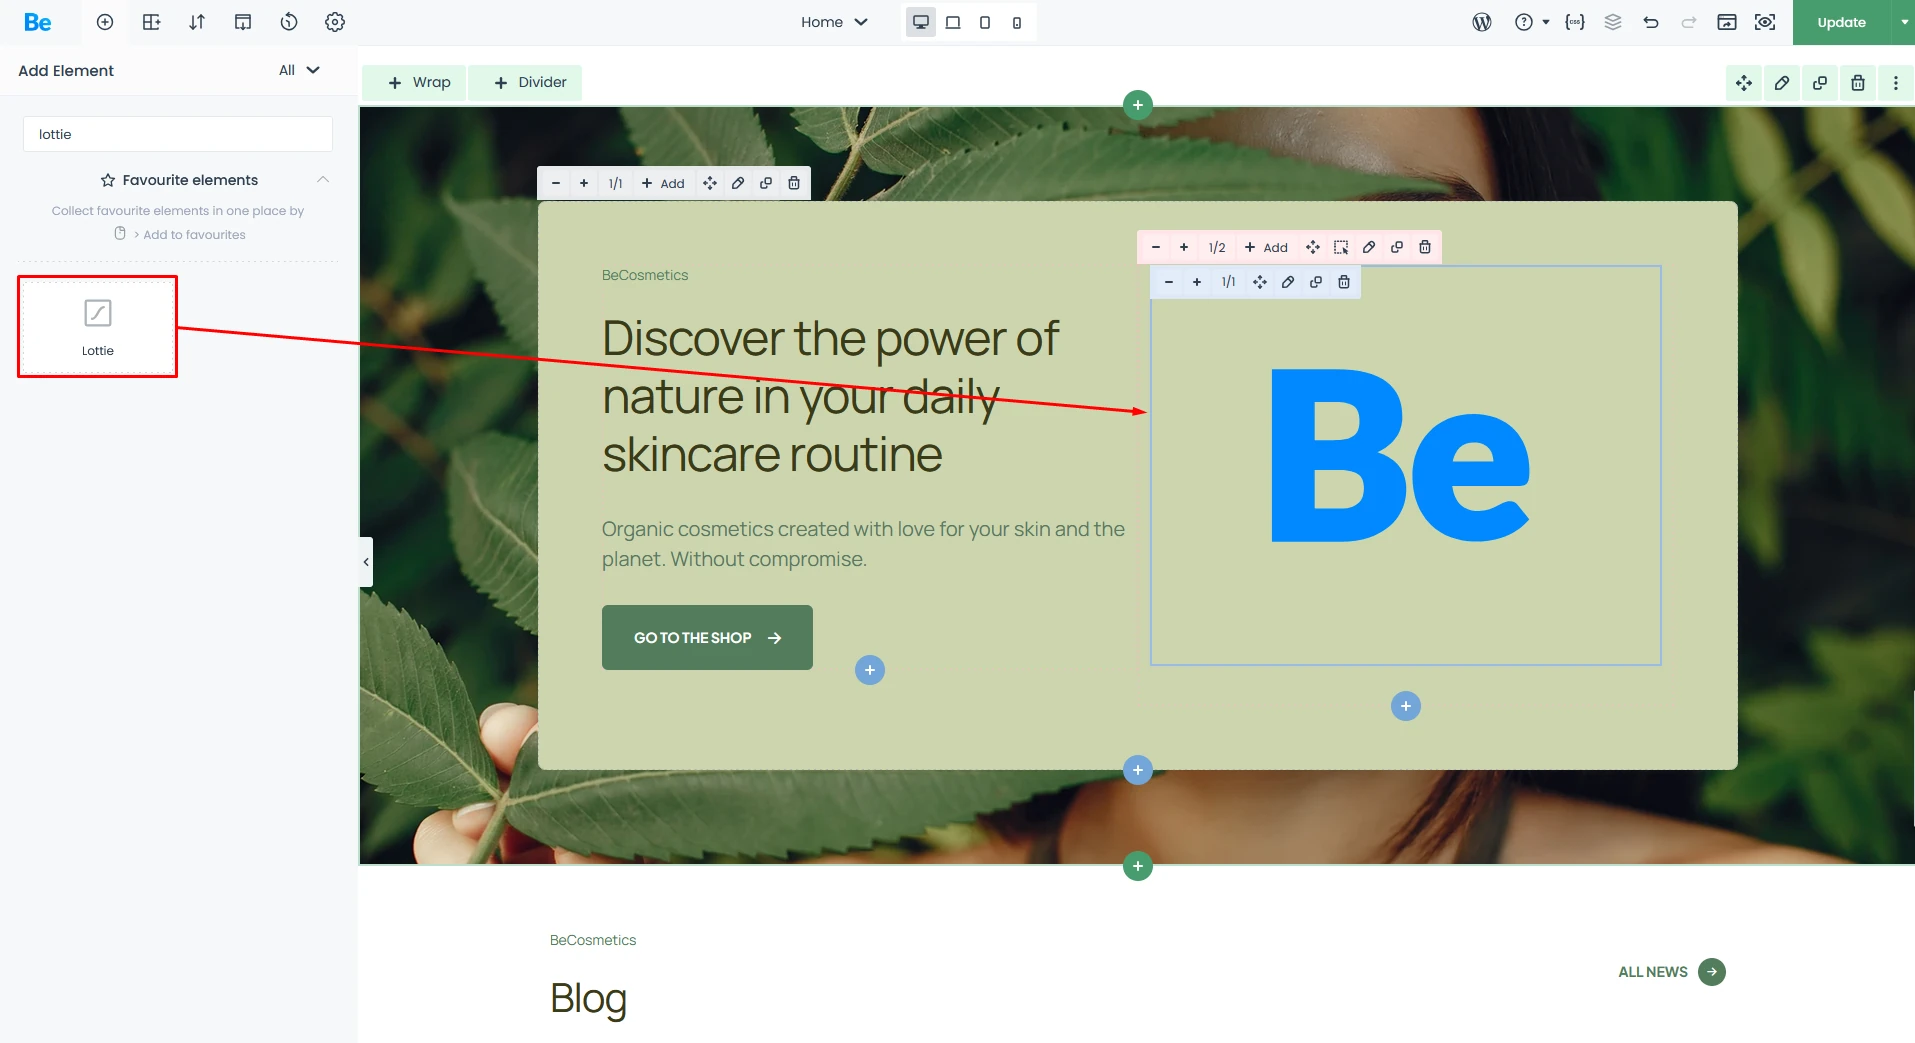
Add the Lottie Animation Element in BeBuilder
BeTheme got native element to manage Lottie files, all what you need to do is add element:
- Open the page you want to edit with BeBuilder.
- Click the “Add Item” (plus icon) button.
- Search for the Lottie element and drag it into your section.
- Click the Edit (pencil icon) on the Lottie element.
- Under Source, choose either:
- Media File: Upload your downloaded
.jsonfile. - External Link: Paste the URL from external service.
- Media File: Upload your downloaded
Tuning Lottie Animation Element
This is where the magic happens. In the element settings, you can customize:
- Trigger: Choose if the animation plays on Load, Hover, Scroll or Viewport.
- Loop: Toggle whether the animation repeats infinitely.
- Speed: Adjust how fast the animation is.
- Start/End point: You can cut your animation frames from start or end by using these values
- Direction: You can set this value if you want to reverse your animation
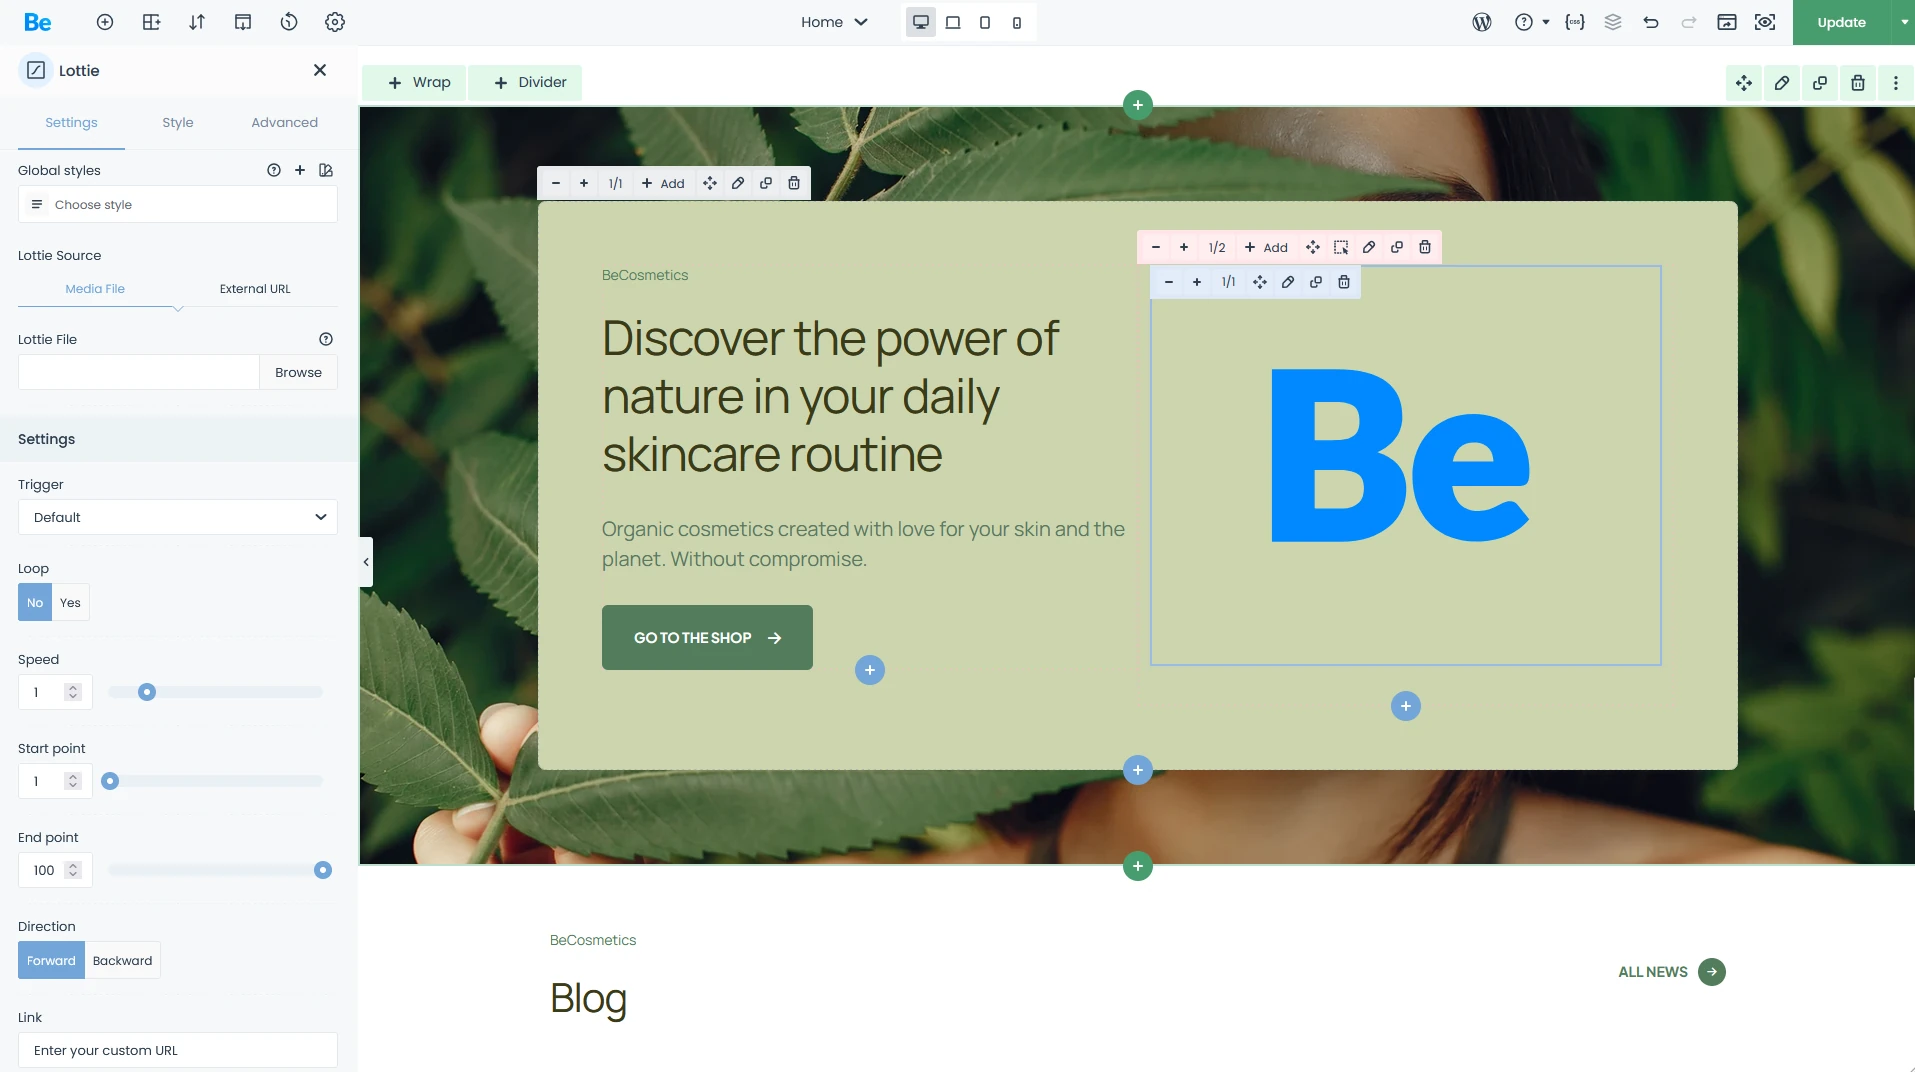
Pro Tip: Use the “On Scroll” trigger for progress bars or character animations to create an interactive “storytelling” feel as the user moves down your page.
That’s it! I think that it can’t be simpler.